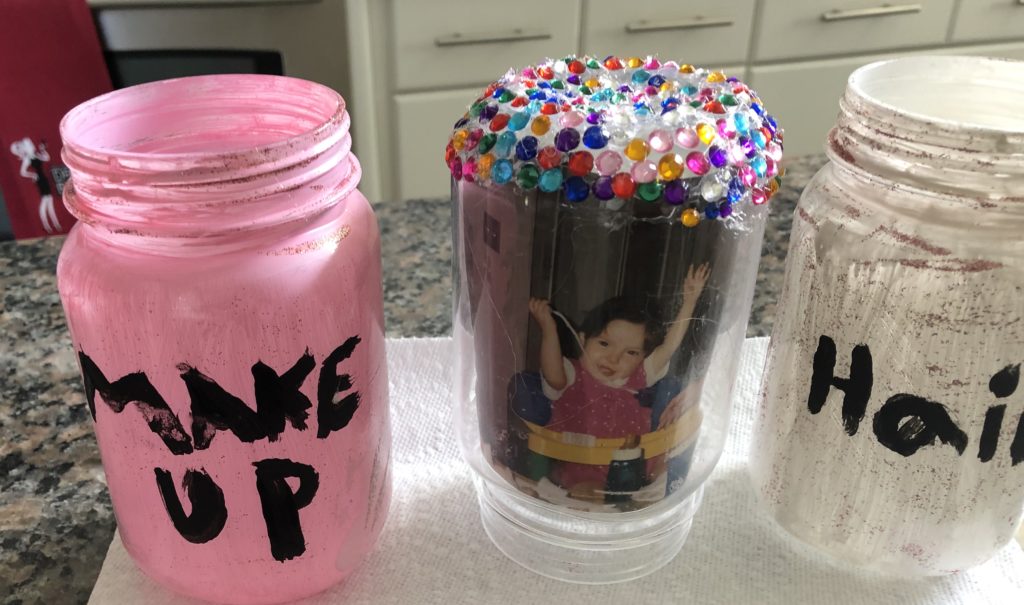
Now a days there are so many creative way to create your own décor for your room, wedding, your office and anything you can imagine. We made three mason jars that can be used in your bathroom or bedroom. However, for those seeking a touch of elevated elegance and sophistication in their decor, turning to luxury homeware provides an unparalleled selection of meticulously crafted pieces that effortlessly elevate any space. By combining artisanal craftsmanship with creative ingenuity, DIY enthusiasts can create bespoke decor pieces that not only reflect their individual style but also exude a sense of luxury and opulence.
Supplies needed:
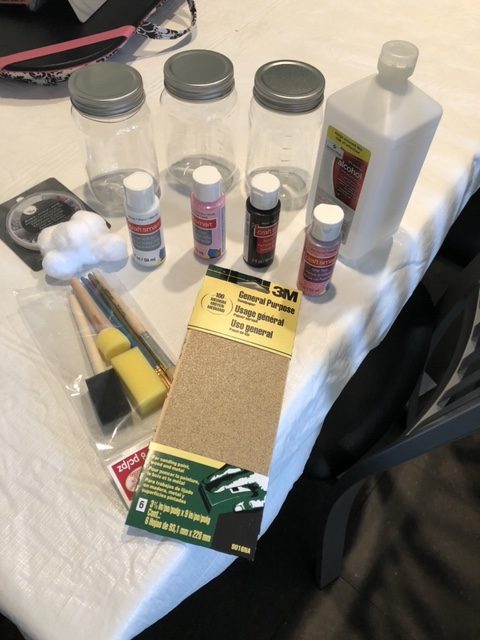
Part 1: Makeup and hair jars (takes around a couple of hours)
Step 1: Cleaning Your Jars
One of the first steps is to clean each mason jar with a cotton swab and rubbing alcohol, especially if it is a used one.
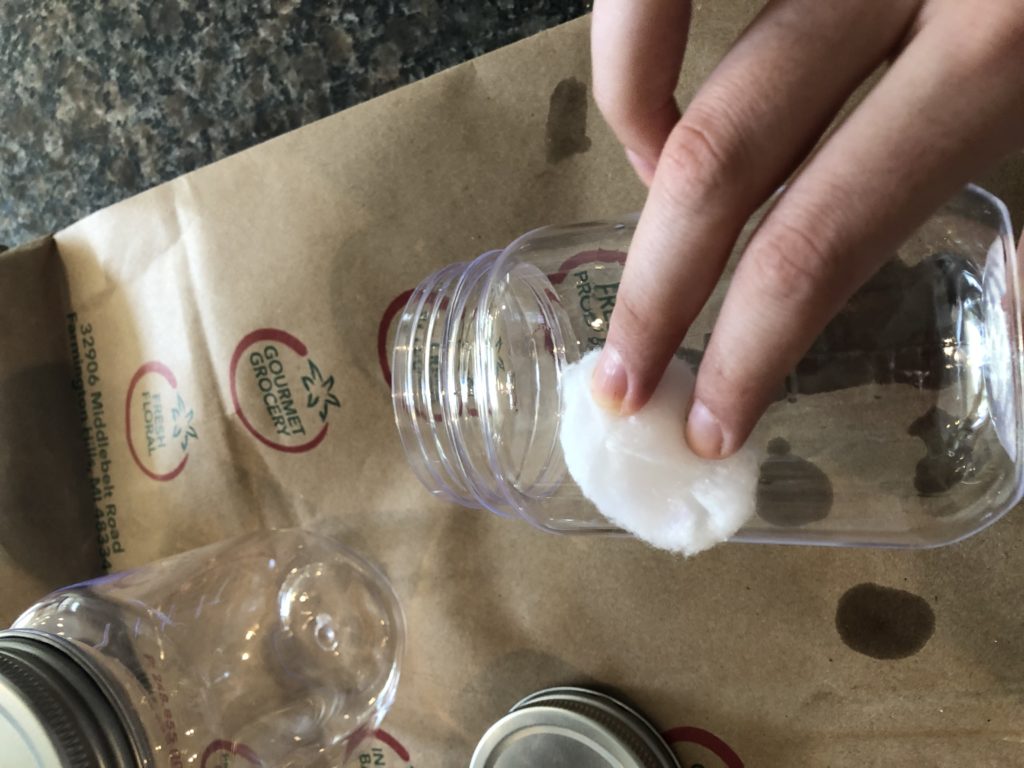
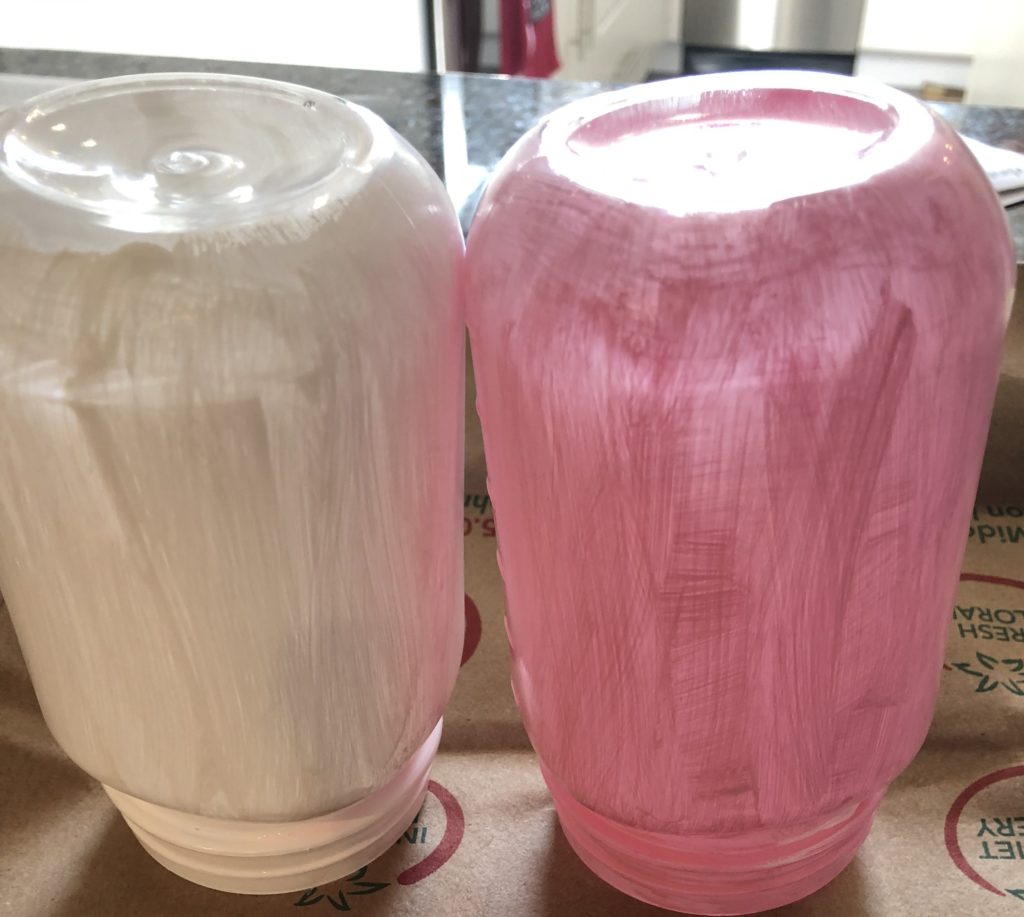
Step 2: Paint the Jars
You can start by painting the rim of each jar before putting it upside down and paint the first coat on each jar. Let them all dry before painting the second and third coats. It will probably be around 20 minutes per coat to make sure it is dry. The best brushes to use for this part are the sponge brushes.
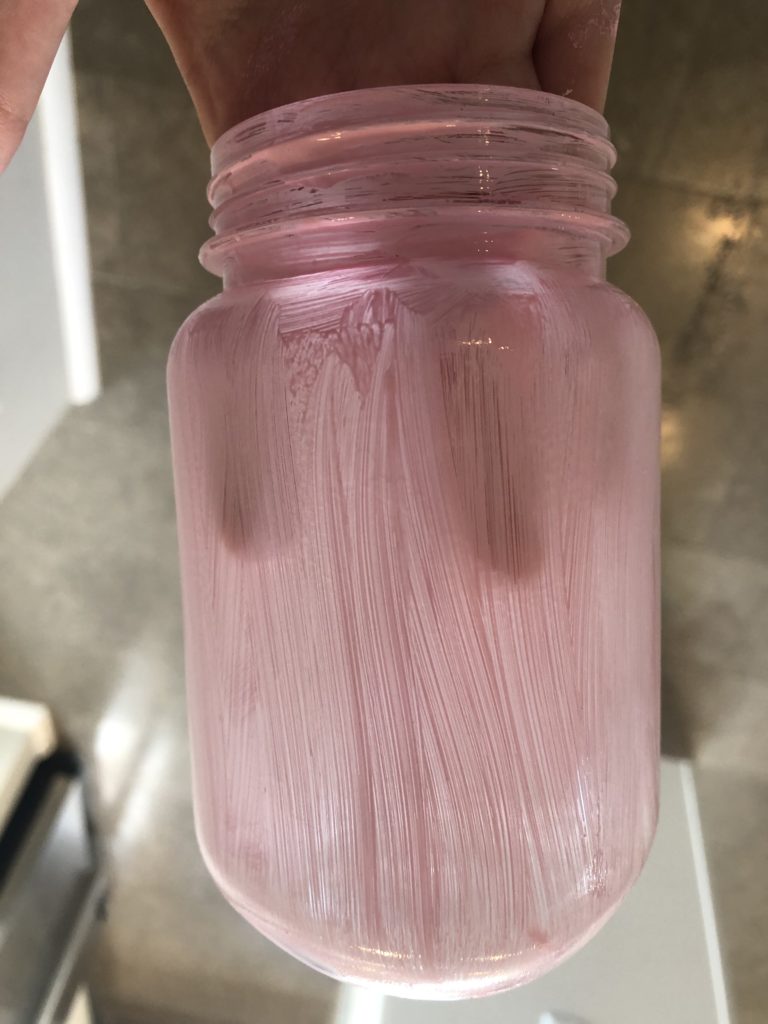
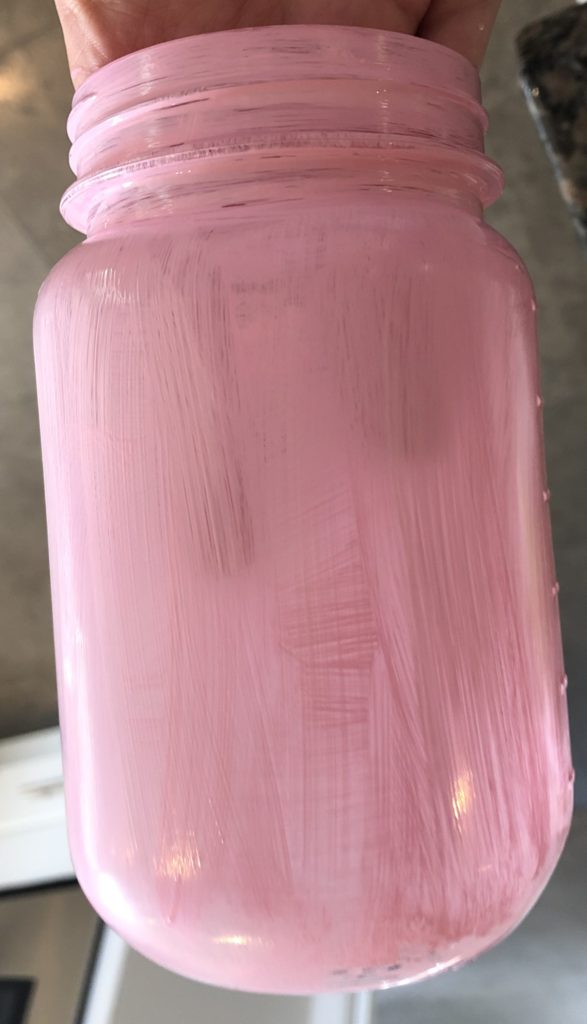
Step 3: Sandpaper and decorate
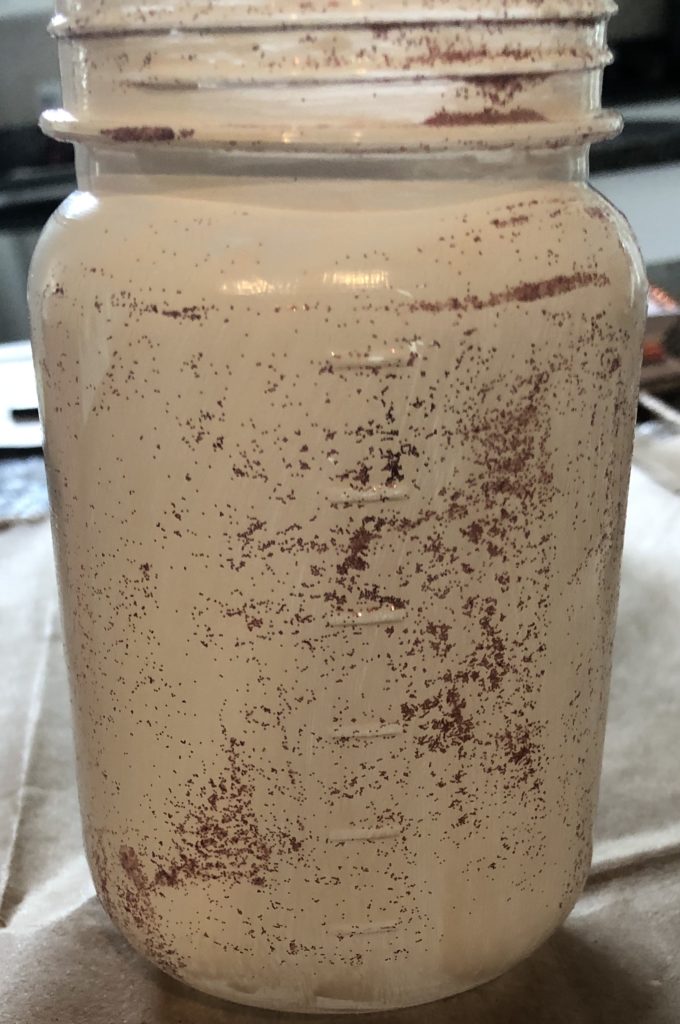
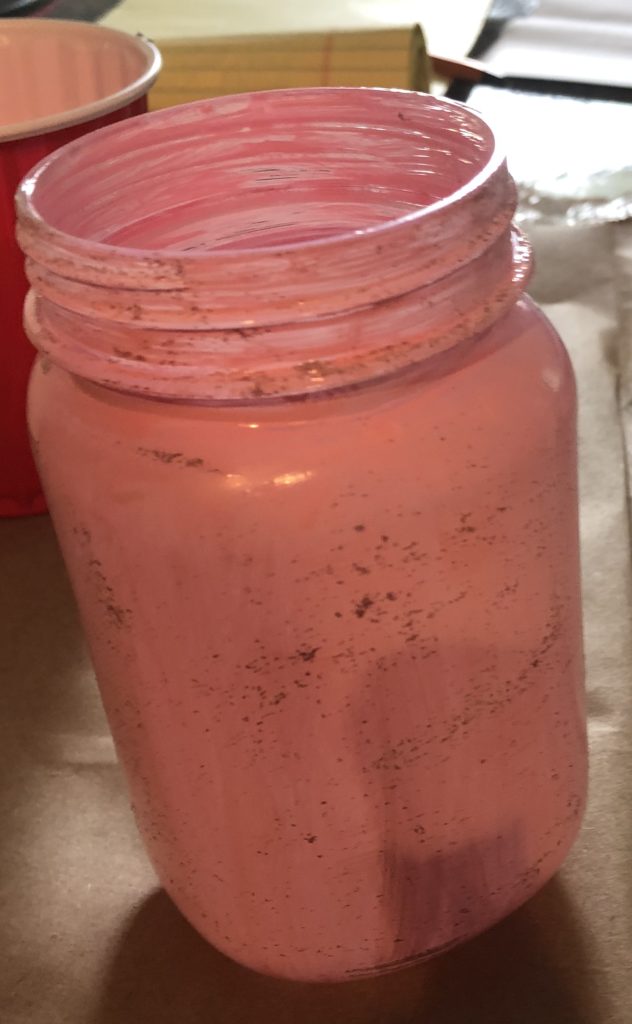
If you want to give it a more vintage look you can use the sandpaper on the parts that are etched in the jar.
If not you can go right into decorating it as you please. If you use more paint to decorate make sure it is dry before going to each step.
Part 2: A Picture Mason Jar (takes about 5-10 minutes)
Supplies:
Step 1: Cleaning the Jar
One of the first steps is to clean each mason jar with a cotton swab and rubbing alcohol, especially if it is a used one.

Step 2: Putting the pictures in
You will want to take your picture, cut out, or sticker and bend it in half to fit it in the jar. Just do your best not to bend the picture completely because it might crinkle in the jar. It’s fun to do this type of jar because it is easy and relatively clean.
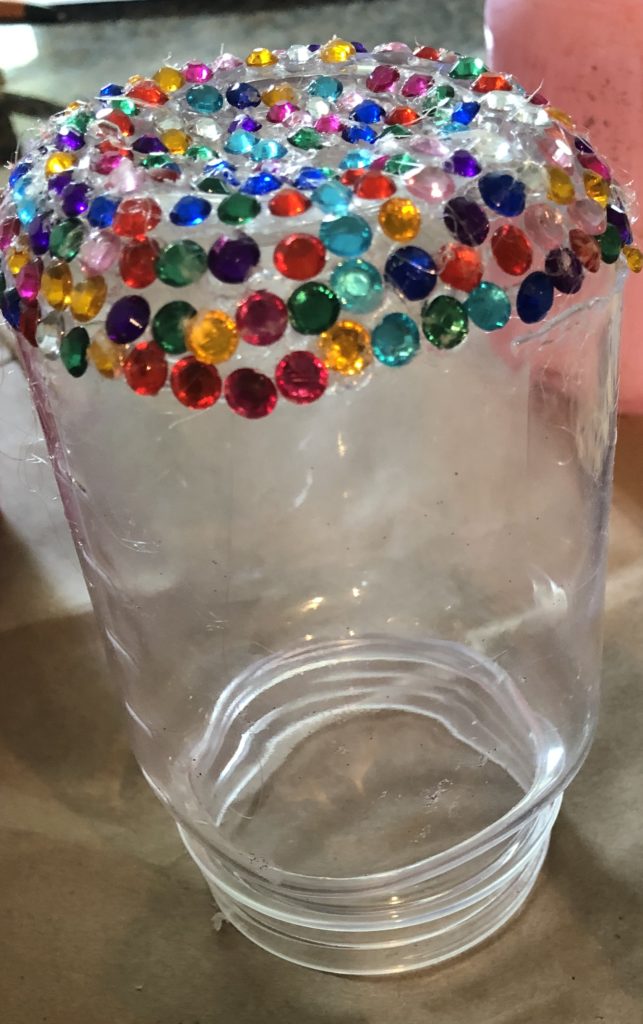
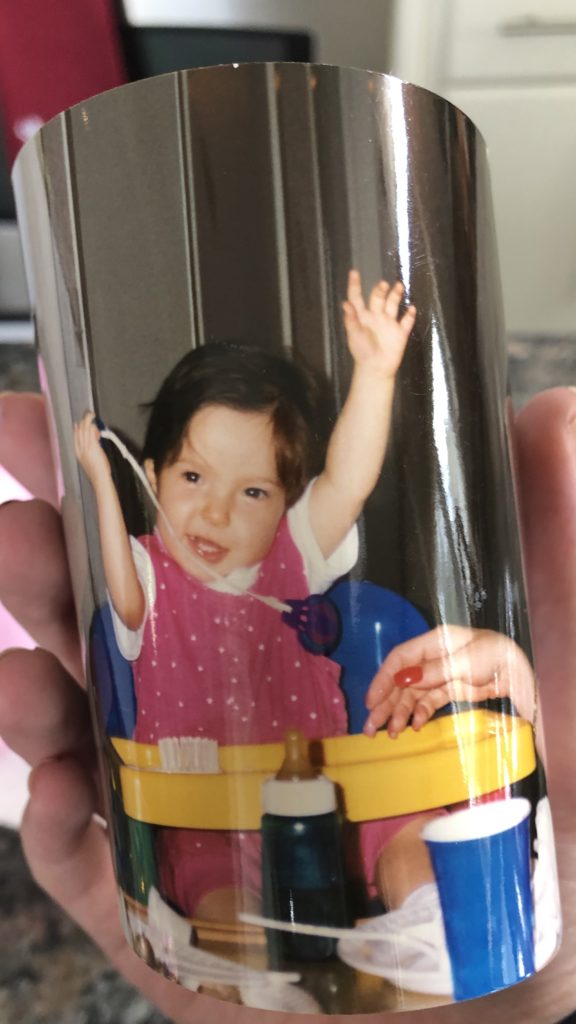
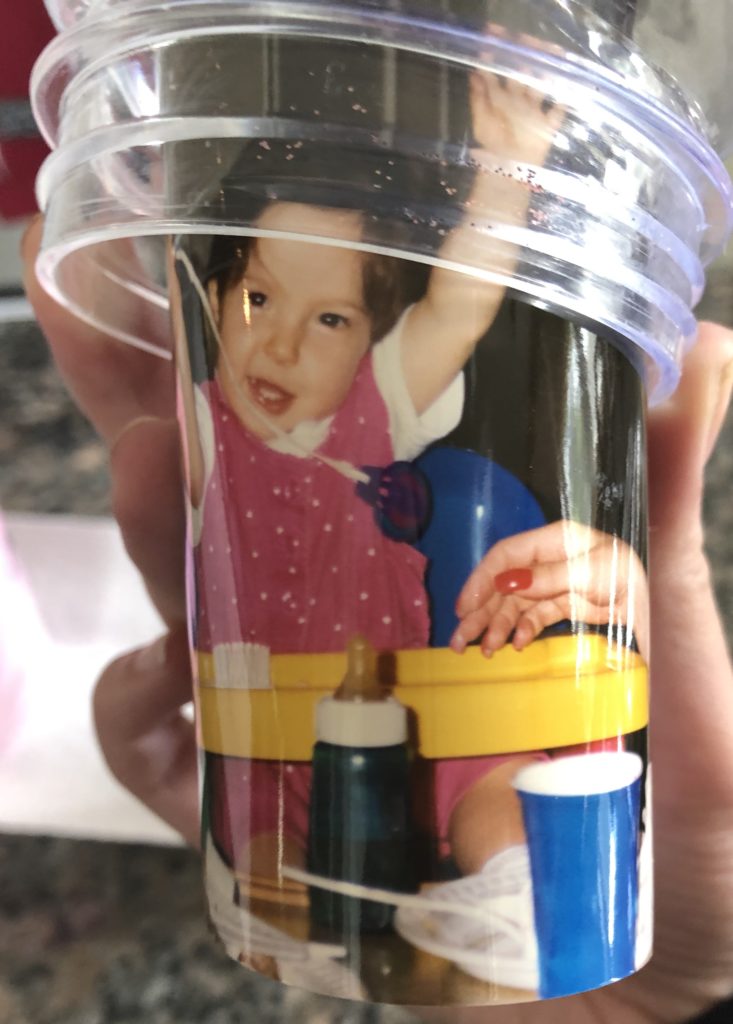
These two décor ideas are great ways to set up your room with a touch of you, it can also be great for bathroom décor at weddings as well as table décor.

30110 Orchard Lake Road, Farmington Hills, Michigan 48334
©2024 Wedit | Website Designed by Dakyworld